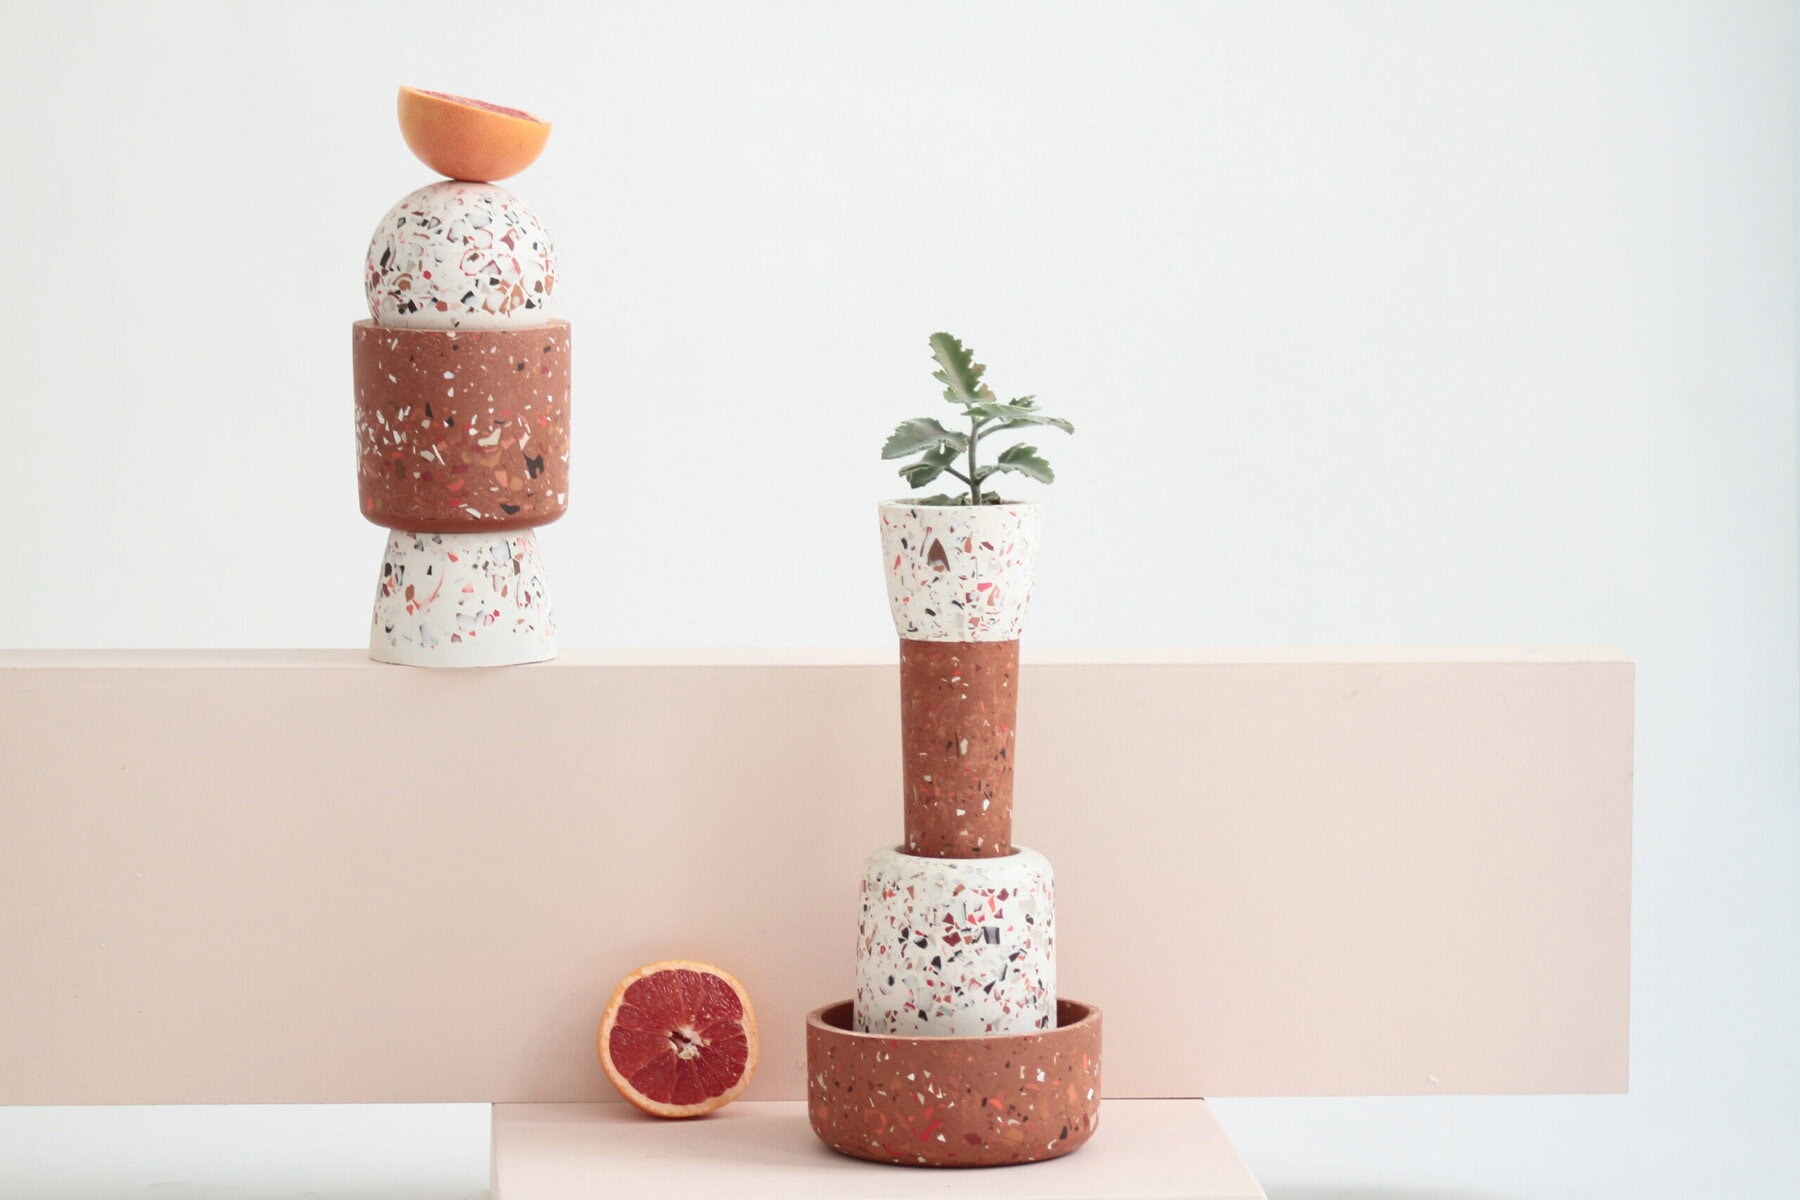
The terrazzo effect is an essential technique in decoration and DIY. With Jesmonite AC100, you can easily create objects with a modern, colorful, and professional finish.
In this guide, discover how to make terrazzo with Jesmonite step by step, with tips to avoid mistakes and achieve a perfect result.
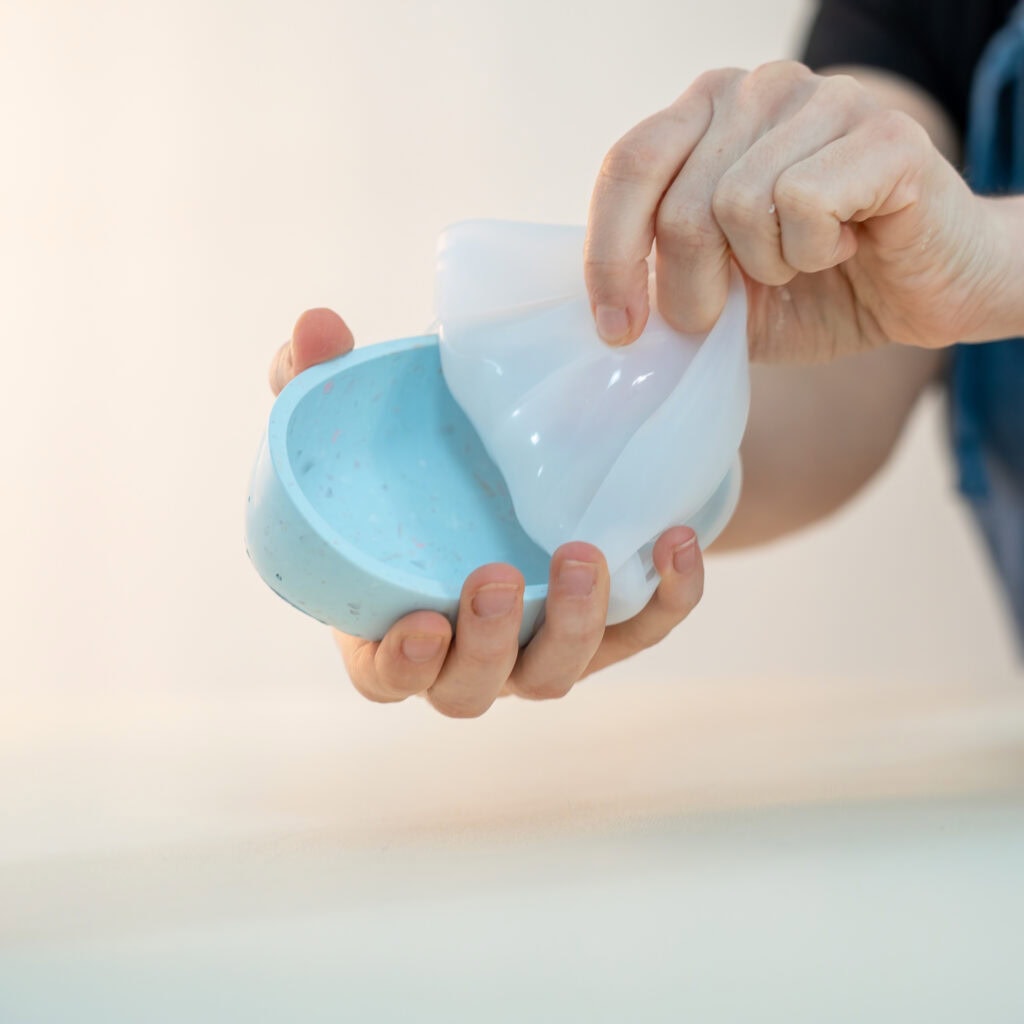
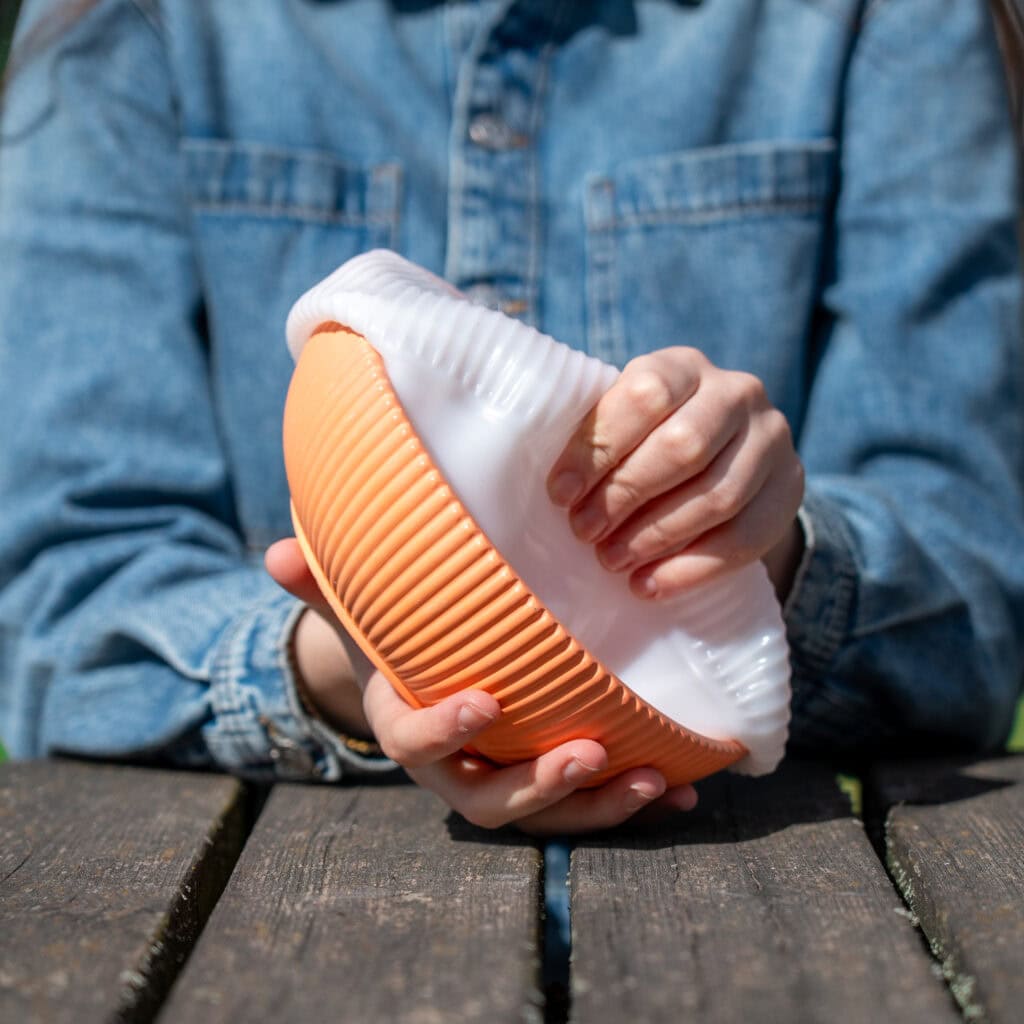
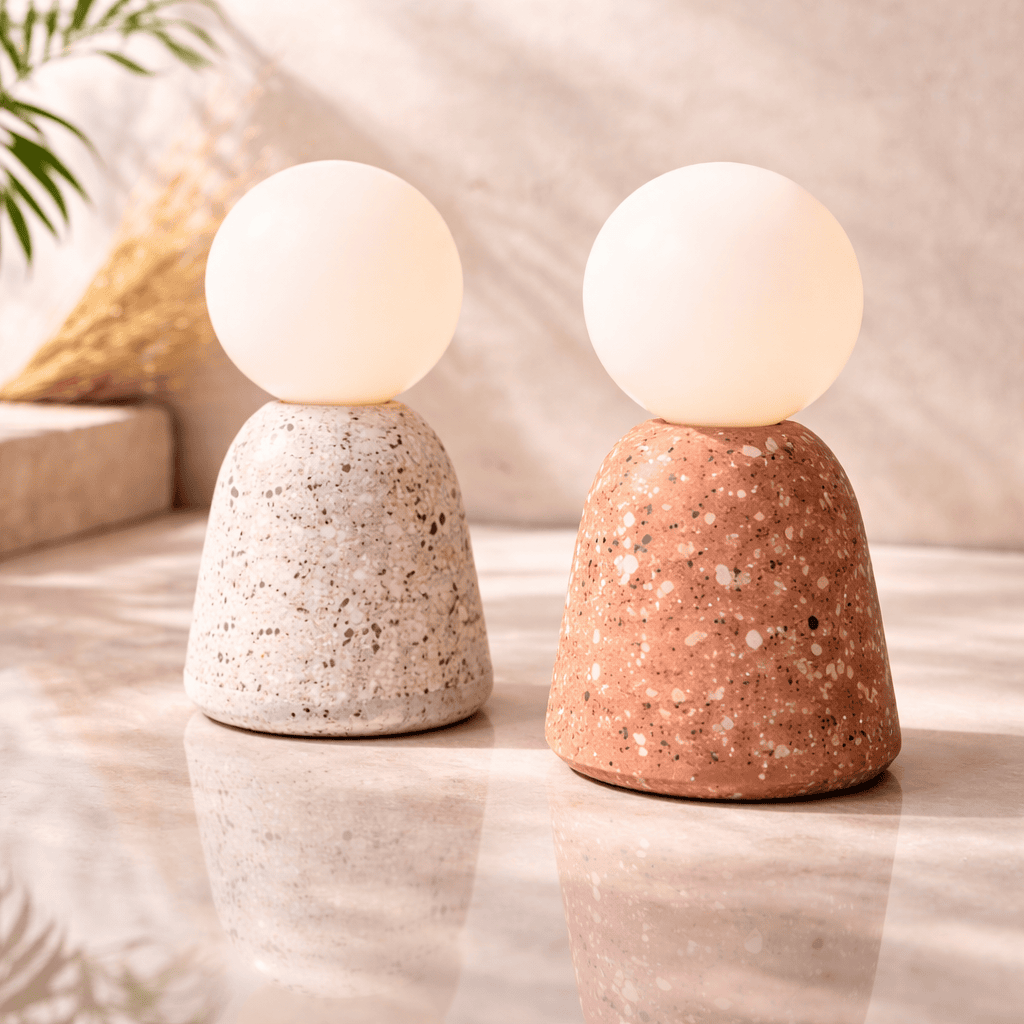
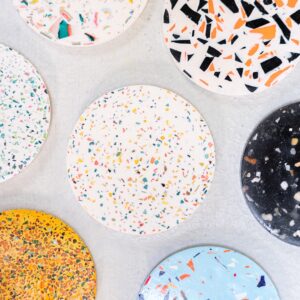
What is the Terrazzo Effect with Jesmonite?
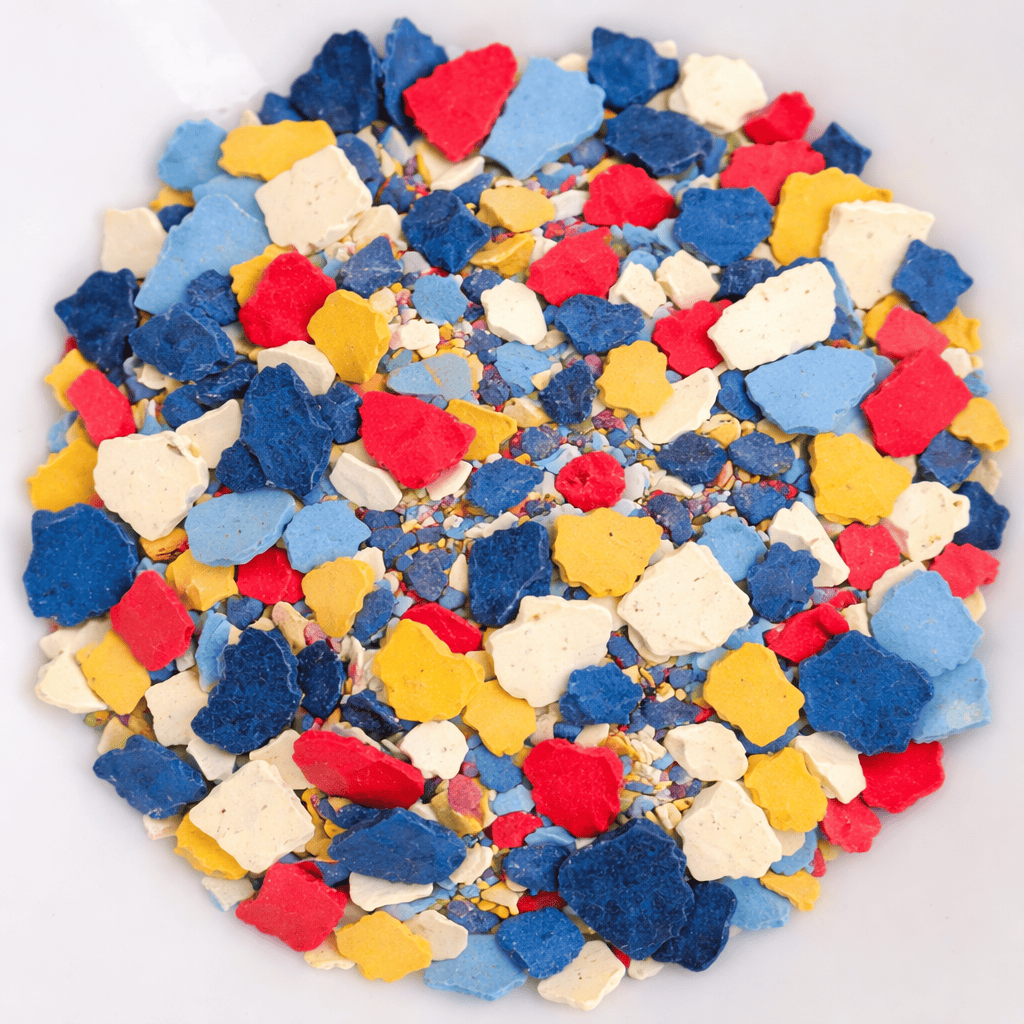
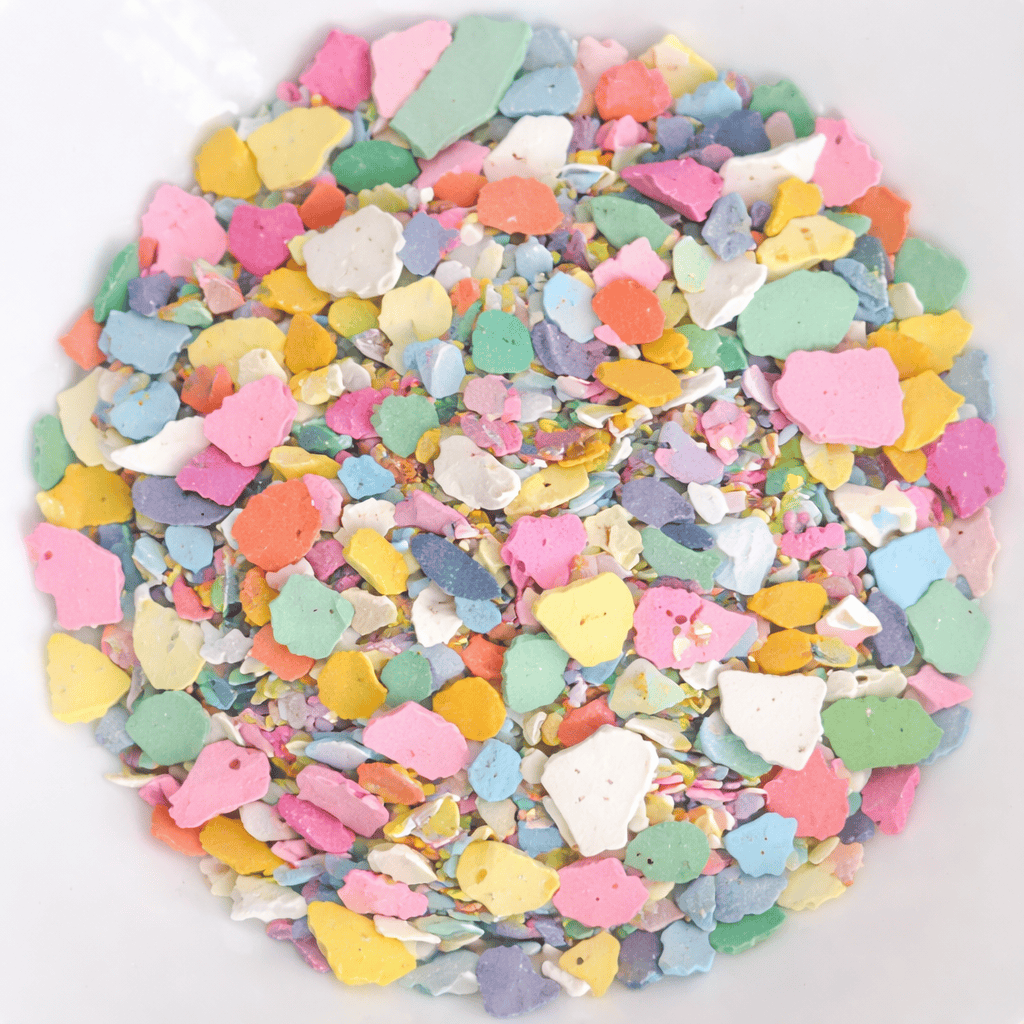
Terrazzo involves incorporating colored chips into a base to create a unique speckled effect.
With Jesmonite AC100:
- Very precise and modern finish
- Solvent-free material
- Ideal for decorative objects and handmade creations
Materials for Creating Terrazzo with Jesmonite:
- Jesmonite AC100 (base + liquid)
- Jesmonite pigments
- Silicone molds
- Precision scales
- Spatula / mixer
- Sandpaper (120 to 400 grit)
💡 Optional: sealant for glossy finish
Step 1: Create the Terrazzo Chips
- Prepare colored Jesmonite
- Pour in a thin layer
- Let it harden
- Break into pieces
Step 2: Prepare the Jesmonite AC100
- Follow the ratio (2.5:1 by weight)
- Mix until you get a smooth paste
- Add pigment (optional)
Step 3: Incorporate the Chips
- Add the chips to the mixture
- Mix gently
Step 4: Pour into the Mold
- Pour in one go
- Tap to remove air bubbles
- Smooth the surface
Step 5: Demolding
- Setting time: 30 to 40 minutes
- Demold carefully
- Let dry for 30 minutes
Step 6: Sanding (Key to Terrazzo)
- Wet sanding recommended -> it’s faster
- Use 3 different grits:
- Reveal the chips with P60 or P80 grit
- Remove scratches with P120 grit
- Smooth with P320 grit
Final Result
You get an object that is:
- modern
- unique
- professional
⚠️ Mistakes to Avoid
- Too few chips → very weak pattern
- Poor mixing → visible defects
- No sanding → failed effect
- Using too fine a grit first -> endless sanding
💡 Terrazzo Creation Ideas
- Trays
- Coasters
- Decorative pots
- Jewelry
- Designer objects
FAQ – Jesmonite Terrazzo
Jesmonite AC100 is the most suitable for decorative objects.
Yes, sanding is essential to reveal the chips and achieve the characteristic appearance.
Approximately 30 to 60 minutes for demolding, 24 hours for complete drying.
Mix slowly and tap the mold after pouring to bring air to the surface.
Generally, between 30% and 50% of the total volume provides a good visual balance


